Showing posts with label love seat. Show all posts

Saturday, September 06, 2008

Eye Candy Colors


In August, Domino shared Alice Turner's New York farmhouse. Her use of color and the uncluttered room layouts make me wish my place looked more like that. The opening spread shows her amazing 10-foot long custom designed couch. Wow! This couch is not only almost as wide as my living room but the backrest of it seems at least five feet high. Talk about feeling cozy and sheltered. The fact that this huge expanse of sofa is covered in a creamy white fabric keeps the room from looking crowded. Perhaps a light-covered love seat would help out my currently chaotic living room?


Also, instead of painting her walls a definite color, Alice and her friends whitewashed the entire place, even her floors are a lived-in white. She let the colors bloom instead on furniture and accessories.


When it came to her guest bedrooms, she let it bloom on the doors. See how she draped the ceilings? It not only looks cozy but it also hides the peeling plaster she hasn't dealt with yet. Smart.


I'm a big fan of painted wood furniture and love the raspberry daybed in her entry piled with graphic pillows. Unfortunately, I noticed the story doesn't source the ones that I like the best; those printed ones on the ends with just the right amount of white background.

Color does not have to be super bold, contrasting, or chaotic. Just add some color to your rooms and see if it changes the mood of your home and perhaps, your mood too.

Saturday, June 02, 2007

The Slipcover Finale


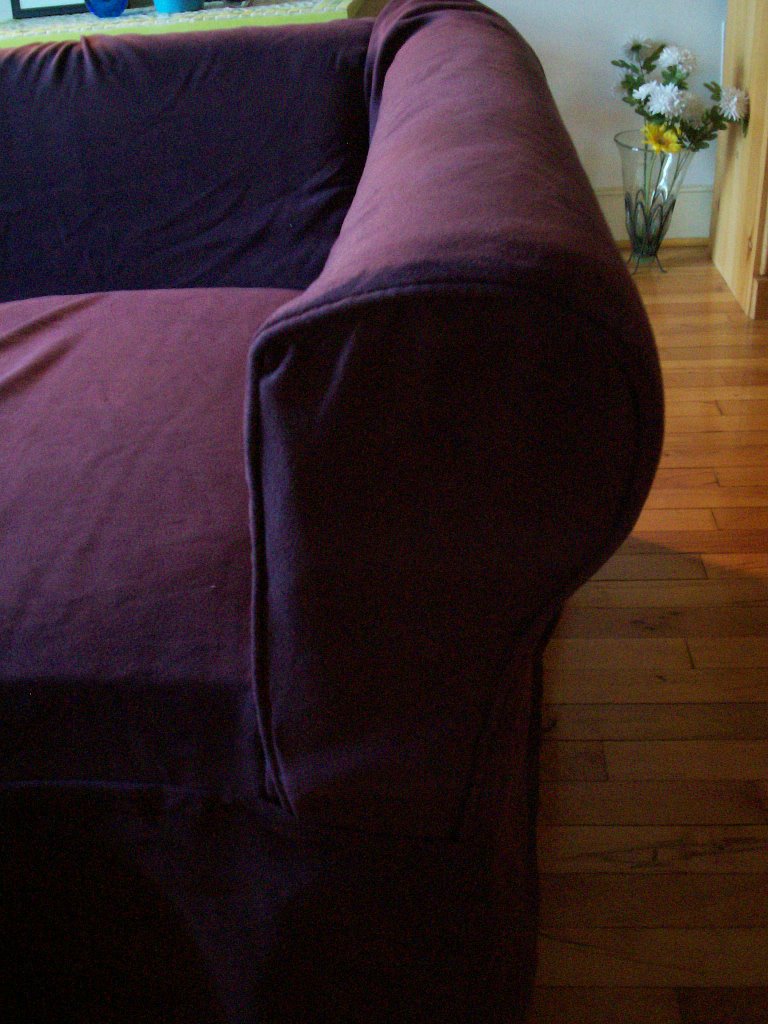
Here is a corner of the slipcover after it was basted and turned right side out.

It made me happy.


This is how it works:

Cushions are placed on top of the fabric that actually used to be tucked behind it.


The elasticized fabric portion is pulled up, over, and around the cushions.


Now, minimal tucking is required for it to look like this.

Note: Even though it looks separate, the slipcover is still one big piece, all of the sections are still attached to each other.


The bolster pillows are now in place, adding style and color.


My inspiration images:


Wednesday, May 30, 2007

Streamlining The Slipcover

"In a mad fit, I wrenched the slipcover inside out and cut into it with a vengeance!"


The right side and the extra fabric supplied for fitting purposes.


Can you believe all of this was to be tucked in underneath the cushions?


After the extra has been trimmed off and pinned.


The left side surplus fabric.


All of the fabric now lying across the seat was also supposed to be tucked up under the cushions, but that was far too much fabric. I slit the slipcover two inches away from the elasticized portion that actually encases the cushions. Now the cushions will sit on top of the seat and the elasticized part will be brought up and over them. After this, the back portion should not ride up whenever the cushions move.

Well, at least that's the goal.


Because the surplus "tuck-in" fabric is gone, this is how the back should look like from now on. Before the fabric would come up from under the cushions and pool over onto the floor. What a mess!

Next step: Hand basting the slipcover.

Tuesday, May 29, 2007

I have a problem with commitment

The Facts: I had three sewing projects I needed to work on. That was the goal.

However, I recently finished the bolster pillows from last fall and wanted to photograph them on the love seat for the blog. But that would mean I had to readjust the slipcover again.


The Truth:
I hate to admit it but the above refit from months ago doesn't really look like that all the time, especially not after I take a nap on it.

So, while I'm gearing up to do the 'pull this here and tuck that there' stuff I think of a new and drastic way to refit the slipcover. And before I know it out comes the scissors (!) and pins.

The Problem: I now have to finish this new thing I started before you see the bolsters from last fall on the love seat and before I finish those three sewing projects. This is why nothing gets finished in my home. Except the bolsters, see the lovely bolsters below.


Seriously, somebody help me.

Wednesday, March 07, 2007

Things to get done during or after the Cure

Goals:

  • Test Glacial Tint and Himalayan Mist! pale blue samples from Behr and paint bedroom with the chosen color (Done 4/07)
  • Assemble white IKEA Vika Amon/Vika Artur desk (Done 5/07)
  • Mount empty brightly colored picture frames from to emulate this image from Wary Meyers (Done 7/07)
  • Hang Inside a Black Apples' Mysterious Genevieve print (Done 7/07)
  • Paint and patinate (yes, I looked it up) my gold mirror using pale yellow and blue paint (Done 3/07)
  • Paint dining/craft table a very pale blue to contrast with the red chairs (probably use the leftover samples from Behr or extra Benjamin Moore sample pots) (Done 10/07)
  • Special order a quart of the American Accents Leafy Green paint from Lowe's or Home Depot for the armoire (**I found out that Rust-Oleum no longer makes this color available in a brush-on latex paint, I would have to use the oil-based spray, which I don't want to use. Hmmm...)
  • Take another try at tailoring the loveseat slip cover (still too loose) (Done 6/07)
  • Make the bolster pillows (came up with new idea for the shape) (Done 5/07)
  • Mount artwork on the walls, including my heavy Swingers poster and my Leia Bell prints (Done 5/07 & 10/07)
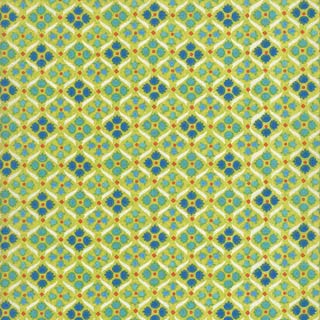
  • Hang curtain dividing the kitchen from the living/dining area. The fabric I wanted was discontinued so I had to start again and I am now thinking about one of these below. They are from the same collection as the one I originally wanted.


Update: I bought over four yards of the green, yellow, and blue print.*
Bolded = Done
* = In progress

Sunday, November 19, 2006

Cure living room update:


I just ordered this Denyse Schmidt print to make the two 9-inch bolster pillows for the back of my loveseat.

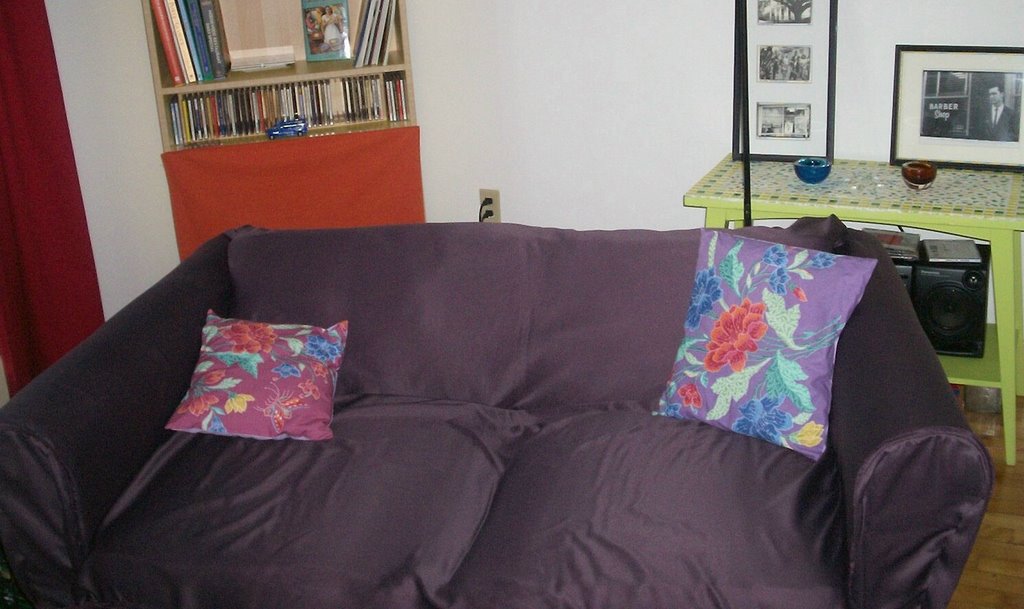
Here is the loveseat again.


Remember, I'm going for this look:


I think it is going to look great. I'm so excited!

Sunday, September 17, 2006

Loveseat update

I found two place online where someone photo documented their sofa reupholstering project, here and here. I was amazed that in this current DIY culture that reupholstering instructions were not easier to find and believe me, I tried!

Before:


After:


I did finally sew the adjustments I pinned into my store bought slipcover way back when I started this blog. I altered the arms and it makes a HUGE difference that they now fit. I was able to keep the piping in place so it looks as if it was originally made to fit. I have a small loveseat and I bought a slipcover for a slightly larger one so it still has too much length from arm to arm and the elastic they put in back for adjustments just bunches up. I will have to take it off again, turn it inside out, and pin some more adjustmens for those changes. However, with just this small change, it fits better and doesn't slide as much when in use.


I also seriously looked into prices on foam for the one-piece bench cushion I want. I entered the dimensions (44" x 26" x 4") into the appropriate forms on FoamOrder.com and FoamSource.com. They each offer different grades of foam in three densities. Since this is going to be a temporary solution I selected the lowest grade and a medium density foam.

Foam Order's quote came to $68.85.
Foam Source's quote came to $63.24.

Very doable.

Tuesday, August 22, 2006

Finding inspiration on eBay and the newsstand

When you are about to tackle a HUGE project it is best to be inspired to succeed.

1st Inspiration:


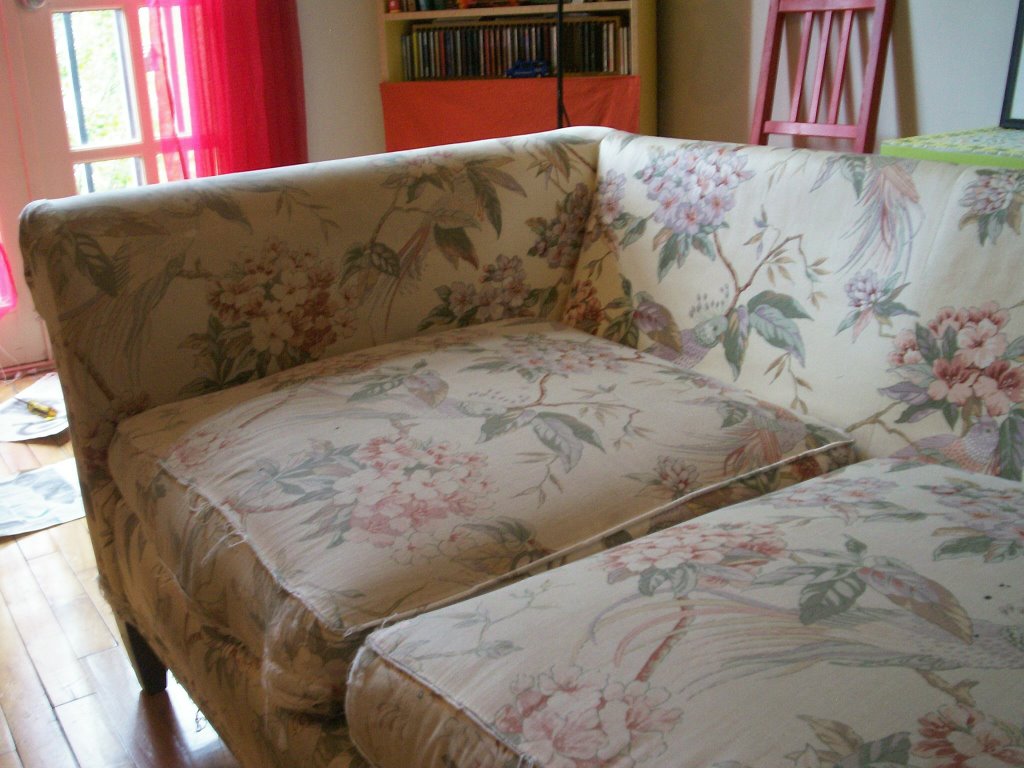
While searching for sofa reupholstering information, I found the above sofa. See the similarity between that and mine...the rolled arms? I prefer rectangular block arms so I needed to find a rolled armed sofa that I liked. I also like the way this sofa looks without all the cushions, which in my case are lumpy cushions.


2nd Inspiration:

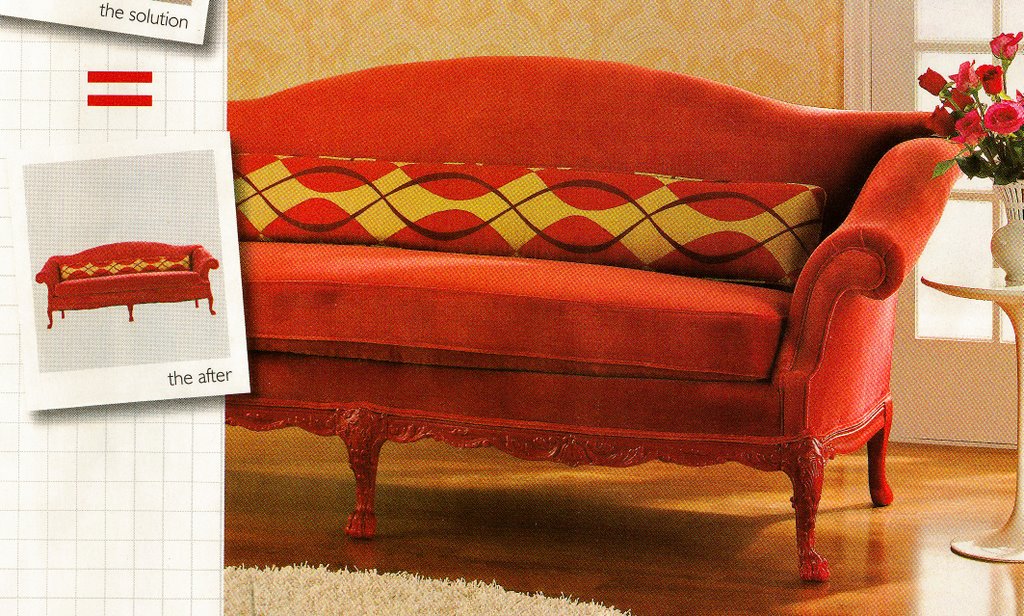
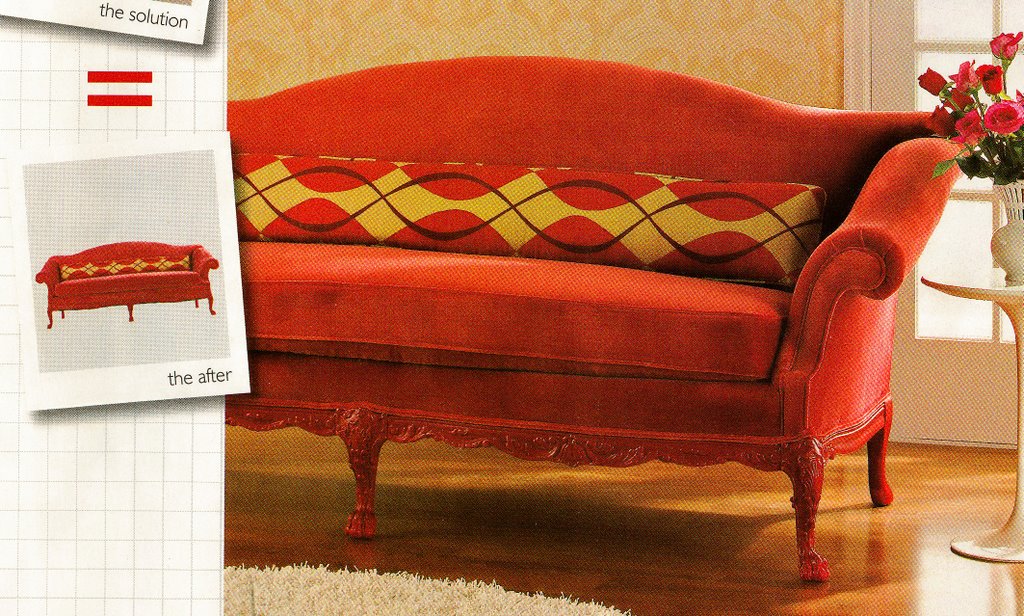
A great redo of a traditional sofa showed up in the pages of the fall/winter 06 issue of Real+Life Decorating, unfortunately, they don't have pictures available on the Web so I had to scan it in. They not only covered a camelback sofa in an incredible chili-red velvet color but they also painted the wood legs to match. Then they added a great patterned gold/red/brown bolster to lay across the back.


I am thinking that if I take my loveseat above and...
  • Strip and recover the base of the loveseat in a great solid color,
  • make one bench cushion for the seat; eliminating the sliding around that the two cushions do now, and
  • remove the lumpy back cushions and replace them with one fabulous funky bolster across the back...I just might be able to fall in love with my loveseat.
What do you think?