is driving me crazy.
After two years, I finally decided to tackle the
IKEA LACK shelf. Well, I was thoroughly justified in putting off installing this shelf for so long.
I went to my local small hardware store, Pleasant's hardware. It is a chain but
much smaller than Home Depot or Lowe's. The people who work there actually know what they're doing when it comes to DIY. I described to them what I was doing and they recommended the right screws and anchors for the project.
Difficulties:Had to find the placement of studs in my wall
Had to buy a stud finder to do this
IKEA does not provide the hardware or even suggest what type you need for this item. (That is why this shelf is notorious for faulty installation and stability failure.)
I found I had metal studs instead of wood ones, which changed what type of anchor I needed.
No. of trips to a store in one month for this project:
I have receipts from 4 trips, but then there were the fruitless scouting missions
here and
here.
The trips were to buy these following items:
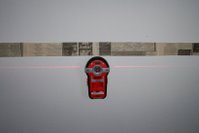
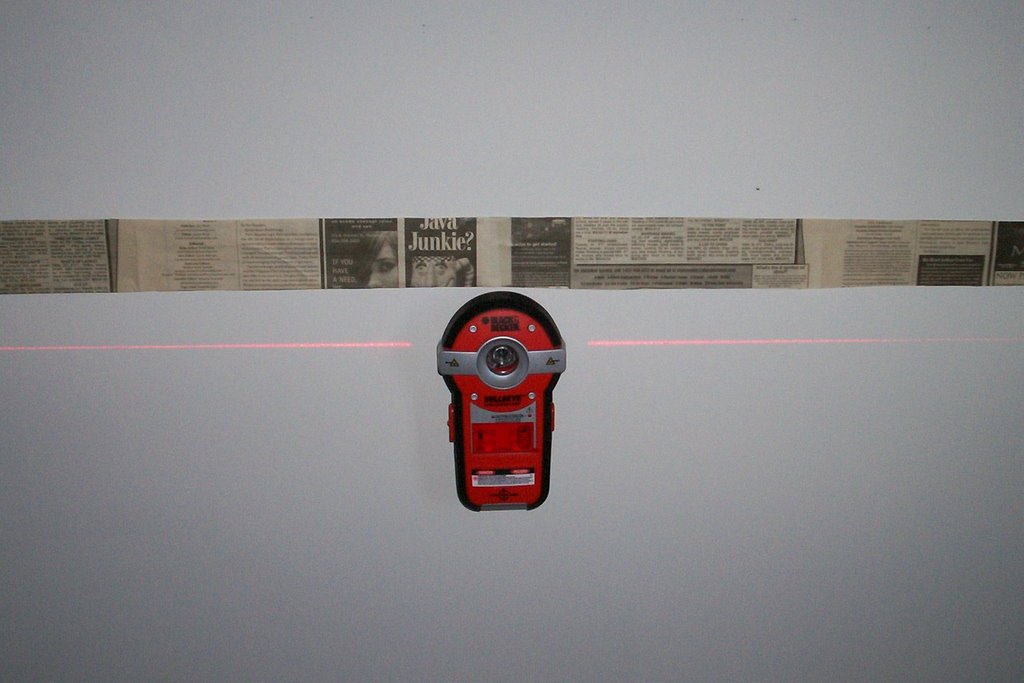
Black & Decker
BullsEye level and stud finder
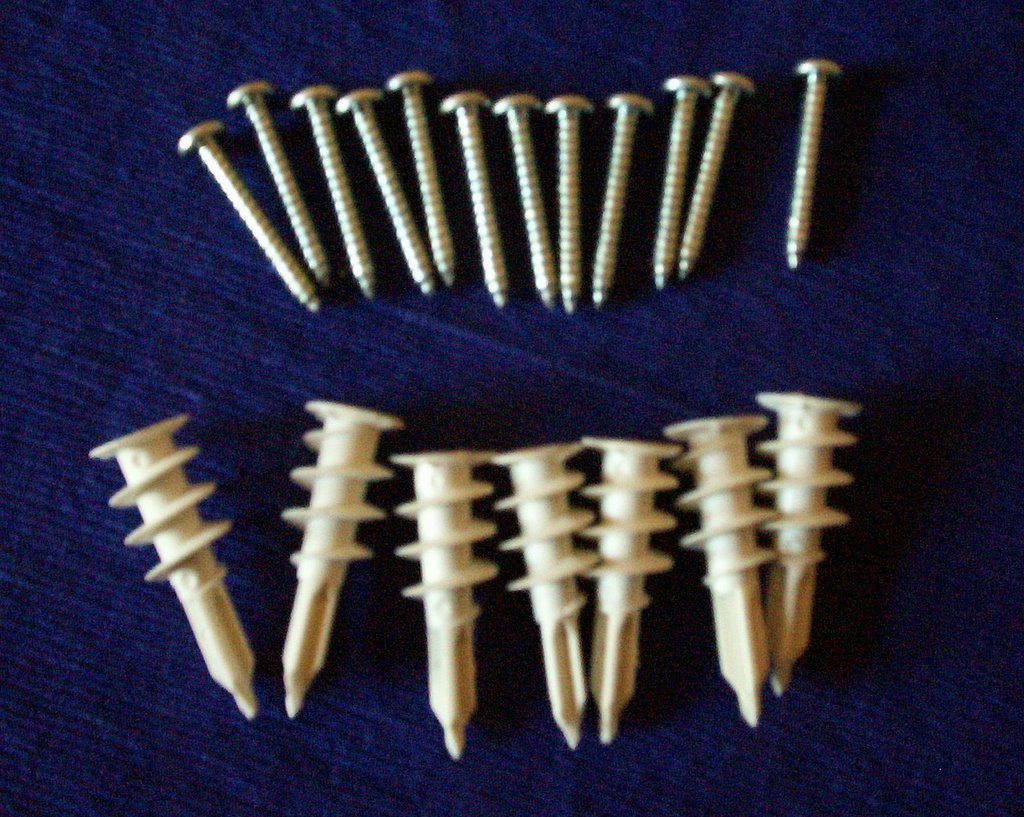
Nylon self-drilling anchors for drywall also known as wallboard (see picture at top of post)
No. 8 sheet-metal screws
Black & Decker 6V
PivotPlus rechargeable screwdriver/drill
3/8-inch drill bit (came with the PivotPlus)
Total price of purchases: $70
What I learned:
- Small hardware stores beat the Big Box stores (Lowe's, Home Depot)
- Target has some of the same tools for less money (Black & Decker, McCullouch, etc.)
I bought the highly recommended Black & Decker BullsEye laser and stud sensor. However, no matter how many times I read the directions I kept coming up with different locations for the studs in my wall. After I don't know how many tries, on how many days, I had pencil dots marking some fairly consistent studs. However, I waited to put the shelves up on a weekend when I would have a whole day to deal with anything else that might come up.
In the mean time, I made a paper cutout the size of the shelf (43.25 X 10.25) and taped it to the wall to try out placement. I had to change where I wanted the shelf so that I could have one side of the shelf attached to a wall stud. One of the things IKEA did make clear on their packaging was that the
LACK shelves need to be installed into at least one stud to be stable; two sides if you are lucky.
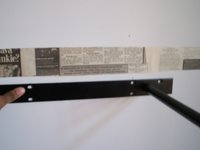
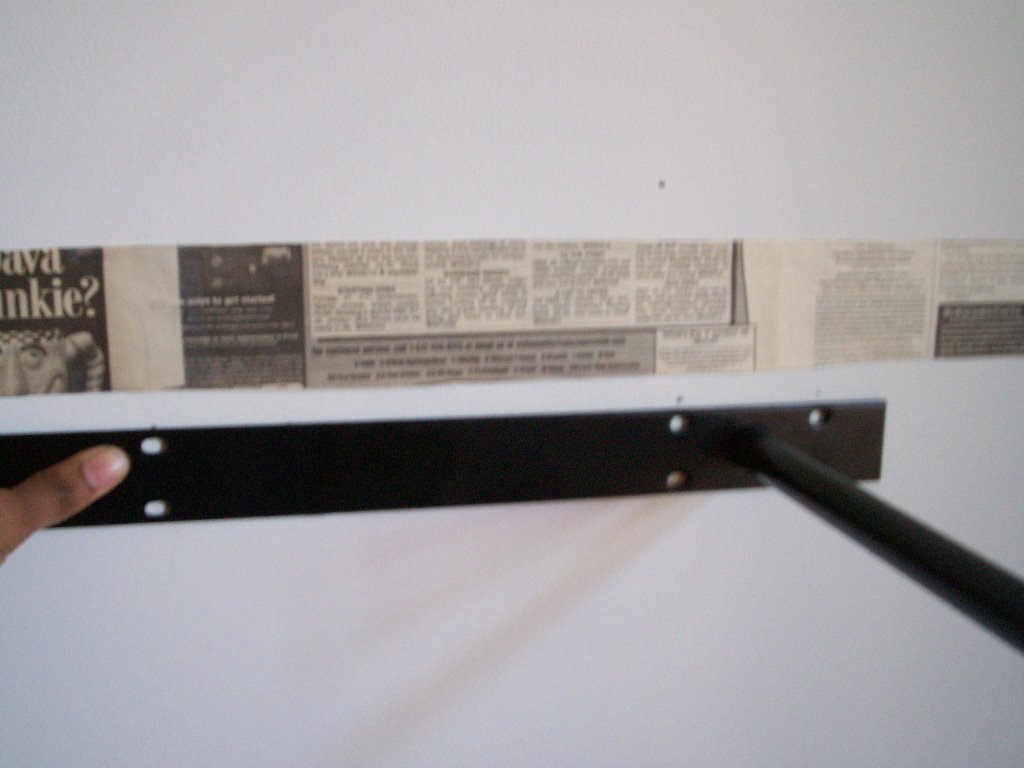
I was now ready to attach the back plate to the wall. The LACK shelf is actually a shell that is slid over this plate and two small screws attach the shelf to the back plate.
The anchors would be used on the side not attached to a stud. They were very easy to install. I inserted the Phillips Head bit on my screwdriver into the hole of the anchor and pressed the point into the wall. Then I just had to twist the anchor into the drywall until it was flush with the wall.

I placed the back plate up and inserted the screw into the anchor and drove it in until it felt secure.
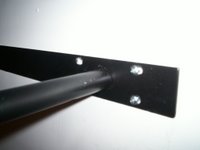
The side of the shelf attached to a wall stud does not need anchors. Because my studs were metal not wood, I had to go back to Pleasant's to buy metal screws that work with wood and metal. I drilled a pilot hole with the drill bit and then twisted the screw into the wall.
After the back plate was completely installed I slid on the shelf, attached it to the back plate with the two small screws that IKEA
did supply for this purpose. Voila! It was finally done.
The funny thing is I always loved the way these looked.
Well, I am over it now.

 so creates concert posters in Ohio. I saw this one originally as a poster for an Elvis Costello concert using the lyrics from my favorite Elvis song, "I Want You". A few months after I put it on my wish list, I heard this rendition from Fiona Apple w/ Elvis C joining in on guitar. WOW.


